
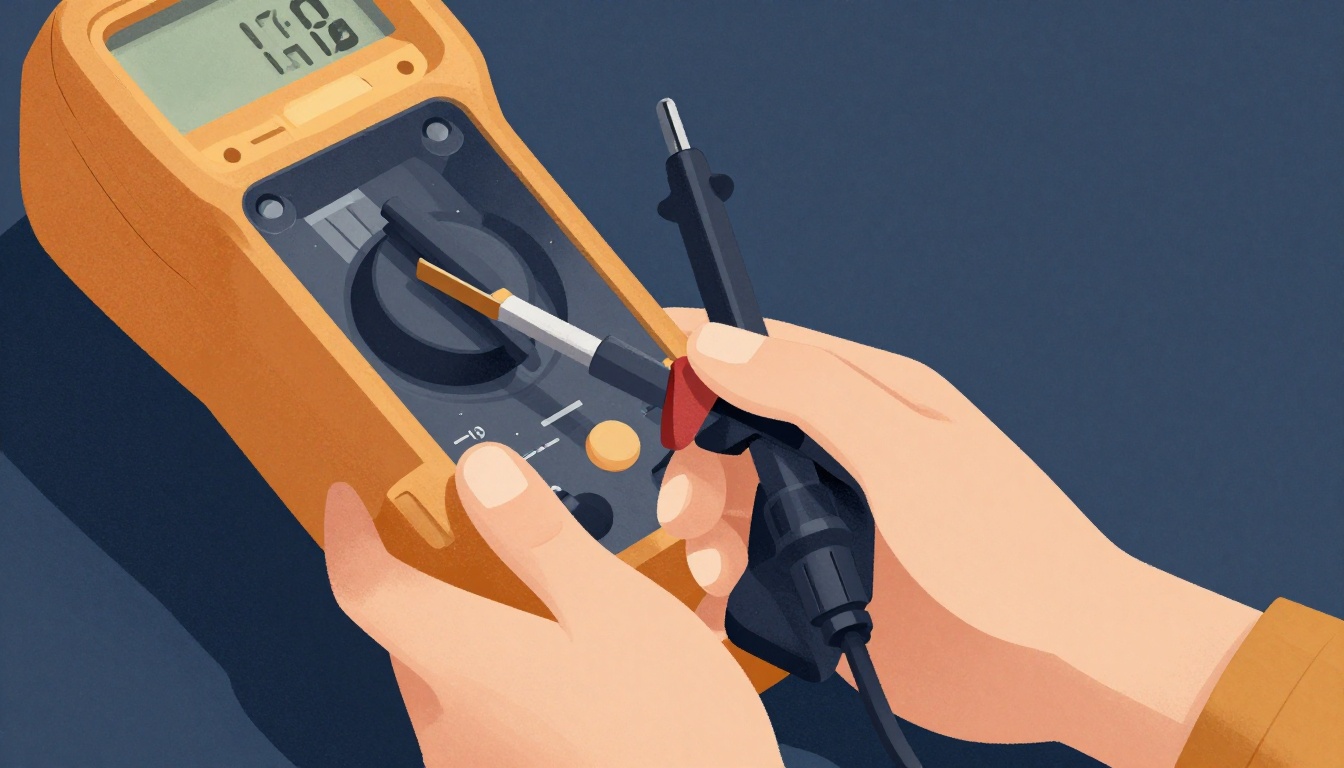
Your excavator's joystick feels loose. The boom drifts when you let go. Or the machine throws a fault code that points to the right-hand joystick Y-axis. You're looking at a $2,700 replacement assembly from the dealer — and a week of downtime waiting for it to arrive.
Before you write that check, know this: the problem is often just a worn potentiometer inside the joystick. Replacing it costs a fraction of the price and takes an afternoon. Here's exactly how to test and swap them out.
What is the most reliable way to confirm a joystick potentiometer is faulty?
Select one answer.
What a joystick potentiometer does
A joystick potentiometer is a variable resistor that converts physical stick movement into an electrical signal the machine's ECU can read. Inside, a wiper slides across a resistive track. Over time, dust, moisture, and mechanical wear cause that track to degrade. The result? Erratic signals, dead zones, or a stuck neutral position.
According to Spectra Symbol's guide, testing a potentiometer early helps rule out one of the most common points of failure before you chase wiring or ECU ghosts.
Signs your potentiometer is failing
- Unresponsive controls — the machine doesn't move when you push the stick
- Erratic movements — the boom jerks or drifts without input
- Inconsistent calibration — the joystick won't hold a neutral center
- Fault codes — many OEMs log specific codes for axis signal loss
A Facebook post from a skid steer operator describes a 2014 Deere 329e throwing code 002661 on the right-hand joystick Y-axis. The dealer wanted $2,700 for a new assembly. The fix? Replacing the potentiometers inside the existing joystick.
Tools you'll need
- Digital multimeter (set to resistance/ohms)
- Small flathead screwdriver
- Soldering iron and solder
- Replacement potentiometer (match resistance value and physical size)
- Heat shrink tubing
- Safety glasses
Step-by-step testing procedure
1. Remove the joystick assembly
Disconnect battery power. Unbolt the joystick from the operator station. Label all wiring connectors before disconnecting. Take photos for reference.
2. Access the potentiometers
Open the joystick housing. Most industrial joysticks use two or three potentiometers — one for each axis (X, Y, and sometimes Z). They look like small cylindrical components with three solder terminals.
3. Test resistance with a multimeter
Set your multimeter to ohms (Ω). Place one probe on the center wiper terminal and the other on an outer terminal. Slowly move the joystick through its full range of motion. The resistance should change smoothly without jumps or dropouts. Repeat for the other outer terminal.
A healthy potentiometer shows a steady sweep from near zero to its rated maximum (e.g., 5 kΩ or 10 kΩ). If you see sudden spikes, open circuits, or erratic readings, the pot is bad.
4. Check for physical damage
Look for cracks in the resistive track, bent wiper arms, or corrosion on the terminals. Any visible damage means replacement.
How to replace a faulty potentiometer
- Desolder the old pot — Use a soldering iron and solder wick or a desoldering pump. Work carefully to avoid lifting the PCB pads.
- Clean the pads — Remove residual solder with isopropyl alcohol.
- Install the new pot — Match the orientation (the wiper terminal position must align with the circuit). Solder each terminal securely.
- Heat shrink any exposed leads — Prevent shorts.
- Reassemble and test — Before reinstalling, connect the joystick to the machine and verify smooth resistance sweep across both axes.
Calibration after replacement
Most modern heavy equipment requires a calibration step after potentiometer replacement. The procedure varies by OEM, but generally involves:
- Entering the machine's service menu
- Selecting "Joystick Calibration"
- Moving the stick through full range in a circular pattern
- Confirming the neutral center position
Epilog's support guide notes that calibration resolves issues like delayed movement, inaccurate control, or carriage drift in jog mode. The same principle applies to heavy equipment joysticks.
When to call a pro
If you've tested the potentiometers and they're fine, the problem may lie deeper — in the ECU, wiring harness, or a failed sensor elsewhere. That's when you need a specialist who can run full diagnostic tests on the entire control circuit.
How the Resident Expert Can Help
RE-CLICK specializes in electronic control repair and diagnostics for heavy equipment, including joystick potentiometer replacement and full joystick rebuilds. Their certified technicians use proprietary test systems to pinpoint faults fast, reducing your downtime. Whether you need a single pot swapped or a complete control circuit board repaired, RE-CLICK provides nationwide support to get your machine back on the job.
Quiz: Test your knowledge
Before you start the repair, check your understanding of joystick potentiometer testing.
What is the most reliable way to confirm a joystick potentiometer is faulty?
A. Visual inspection for cracks B. Measuring resistance with a multimeter while moving the joystick C. Replacing the entire joystick assembly